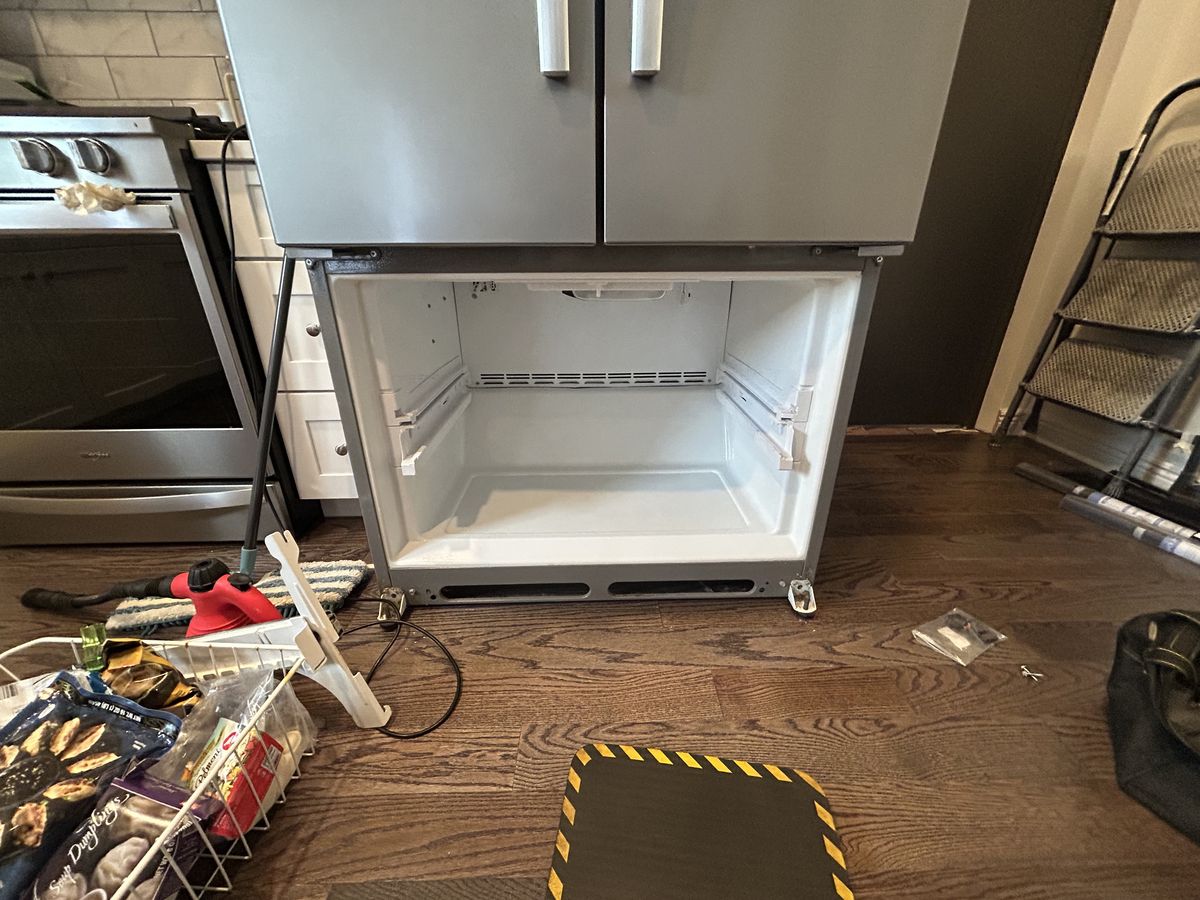
Most refrigerator trouble announces itself with a noise, a warm shelf or a puddle. A failing door gasket is quieter. The magnetic rubber loop around each door slowly flattens, splits at a corner or stiffens, and the refrigerator compensates by running longer, frosting along the freezer edge and fogging its shelves in our damp air. By the time anyone notices, the compressor may have been working overtime for months. Here is how to test a gasket at home, which symptoms point to it, what to rule out first, and how a replacement should go in.
More than a rubber strip: how the seal works
A refrigerator gasket is a hollow vinyl or rubber profile with a magnetic strip sealed inside it. The magnet pulls the gasket against the steel face of the cabinet, and the soft, accordion-like folds let it flex to close small gaps as the door shuts. Done right, it handles two jobs at once: it keeps cold air in, and it keeps warm, humid kitchen air out. The second job matters more around Olympia than most people realize, because every leak carries water vapor that turns into frost on the evaporator coil and droplets on the shelves.
Gaskets wear in predictable places. The hinge-side corners flex the most and usually flatten first. The bottom edge of a freezer drawer collects crumbs and sticky spills that harden the rubber. Overloaded door bins pull a door slightly out of square, opening a gap on the side opposite the hinge. Cleaning chemicals, including bleach and some all-purpose sprays, dry out vinyl until it cracks. A gasket can also look perfect from the front while leaking at its back fold, which is why a visual check alone isn't enough and a full perimeter test is worth the ten minutes.
The paper or dollar-bill test, done all the way around
You need a strip of printer paper or a dollar bill and a few minutes per door. Close the door on the strip so half of it sticks out, then pull it slowly toward you. A healthy seal gives a steady drag; a strip that slides out with no resistance marks a weak spot. Move the strip every few inches and repeat around the entire door, then do the same on the freezer door or drawer. Pay close attention to all four corners and to the hinge side, where gaps hide behind the door's swing and are easy to miss.
For a second opinion, try a flashlight check after dark. Set a lit flashlight inside the refrigerator pointing toward the door seam, close the door, switch off the kitchen lights and look for light escaping around the edges. A bright line shows a gap the paper may have missed. Put a small piece of tape on the outside of the door at each weak spot so you can find them again. If every weak spot sits along one side, the cause may be the door's alignment rather than the gasket itself, which changes the repair. Remember to take the flashlight back out.
Symptoms that send us looking at the seal
Frost building along the inside edge of the freezer door, or on packages near the opening, is the most reliable sign of a leaking freezer gasket. In the fresh-food section, look for fog on the glass shelves, beads on the inside walls, and produce that wilts or grows mold sooner than it used to. The refrigerator may run almost constantly, and the outside of the cabinet near the door edge can sweat where cold air escapes. An electric bill that creeps up without explanation belongs on the list too, although it rarely points to any one cause by itself.
Then come the visual signs: torn corners, a flattened bottom edge that no longer touches the cabinet, rubber that has turned stiff and shiny, and folds that have pulled out of their channel. Mildew deserves a mention of its own. In our damp climate, black spotting inside the folds is common, and if it comes back within a week of a careful cleaning, it has grown into the material. At that point the gasket is a hygiene problem as well as an efficiency problem, and replacement is the only fix that lasts.
Where our crew works
Tap a town on the map to open its page. Our crew covers Olympia, Lacey, Tumwater, Yelm, Tenino and Rainier.
Rule these out before ordering a new gasket
A good share of gasket complaints turn out to be door problems. Refrigerators are designed to lean back slightly so the doors swing closed by themselves. If the front leveling legs have sunk into soft vinyl flooring, or someone set the cabinet perfectly flat with a level, the doors may stop just short of sealing. Heavy door bins loaded with milk jugs and jars can make a door sag on its hinges over time, opening a gap at the top corner. A frozen pizza box or an ice bin sitting a half inch out of place can also hold a door off its seal.
Some of these fixes are within reach of a careful owner. Adjusting the leveling legs, lightening the door bins and reorganizing the shelves are safe jobs. A new or stored gasket that is only kinked can sometimes be relaxed by pressing a warm, damp cloth along the fold for a few minutes. Leave hinge adjustments and anything that involves taking a door off to our technicians, though. French-door and side-by-side doors are heavy, and many carry wiring and water tubing through the hinge, so a door removed in a hurry can turn a seal problem into a leak.
How a replacement gasket goes in
Gaskets are model-specific, so the first step is reading the model and serial numbers from the sticker, usually on a side wall inside the fresh-food compartment, and matching the exact part. Most current refrigerators use a push-in gasket that presses into a channel around the door liner. Older and some built-in models hold the gasket with a retainer strip and a row of screws hidden under the rubber. Either way, the new gasket arrives folded, and a crease left in it will leak just like the old seal. When the gasket for your model has to be ordered, our crew schedules a return visit to fit it, and you are not billed for that second drive.
On install day, our technicians warm the new gasket so it relaxes into shape, seat it evenly from the corners outward, and confirm the magnet faces the cabinet along its whole length. Then come the steps a rushed install skips: rechecking the door's alignment and the cabinet's tilt, running the paper test around every edge, and watching the refrigerator cycle to confirm run times settle down. A gasket that goes in with waves at the corners leaks from the first day, which is why a replacement that seems to change nothing usually traces to the installation rather than the part.
Making a new seal last in a damp South Sound kitchen
Wash the folds using a soft cloth or an old toothbrush dipped in warm, mildly soapy water, then towel them until no moisture is left. Skip bleach, ammonia and solvent sprays. Don't let anyone swing on the doors, and keep heavy jars on the lower door shelves rather than the top. Check the cabinet's tilt once a year and after any flooring work. In homes where laundry dries indoors through the wet months, extra humidity makes clean, dry folds even more important. Looked after this way, a gasket usually stays soft and sealing for many years.
Care tip: Every few months, close a strip of paper in each door at the four corners and pull it out. Corners fail first, so a quick corner check catches a weakening seal early. If the paper slips out easily anywhere, run the full test around that door before frost or fog gives the problem away.
Questions we get about this
Can I clean a moldy fridge gasket instead of replacing it?
Often, yes, if the spotting sits on the surface. Use warm water and dish soap with a soft brush in the folds, wipe with a clean damp cloth and dry thoroughly. If black spots return within a week or two, the mildew has grown into the material, and replacement is the reliable fix. Avoid bleach, which stiffens the rubber and shortens its life.
Is a new gasket worth it on an older refrigerator in my Tumwater rental?
It depends on the rest of the machine. A seal is a modest part on a cabinet that may have years left, but if the compressor is struggling, the liner is cracked or the door itself is warped, a gasket won't save it. Our technicians check cooling performance before recommending one. If the maker's warranty still covers the refrigerator, contact the manufacturer first.
Why does my freezer still frost up after a new gasket?
Usually the door isn't closing square. A gasket installed with a crease, a cabinet that tilts forward, or a sagging door can leave a gap the new seal can't bridge. Frost can also come from frequent openings, a defrost fault or an ice bin that props the door. Run the paper test at the corners, check the tilt, and call us if frost keeps building.
Frost at the door edge or a torn seal?
We confirm whether the gasket, the door or something deeper is at fault before quoting a thing. Approve the written quote and the $97 diagnostic comes off the repair total; turn it down, and you owe only the $97.